Move-In Day Matters: How to Protect Your Deposit From Day One in a Phuket Rental
Let's set the scene. You've just landed in Phuket after a 20-something-hour journey, your landlord hands you the keys, and all you want to do is crack open a Chang, flip on the ceiling fan, and collapse onto that king-size bed. We get it. But before you do any of that, there's one thing you absolutely cannot skip: your move-in inspection.
Deposits in Phuket typically run two to three months' rent. On a mid-range villa, that could mean $1,500 to $3,000 sitting in your landlord's bank account. That money is yours—as long as you can prove you didn't cause any damage. And in a tropical climate like Phuket's, where humidity, mold, rust, and sun exposure do a number on everything from tile grout to air conditioning units, the line between "pre-existing damage" and "tenant negligence" gets blurry fast. Your job on move-in day is to draw that line in permanent marker.
Why Tropical Rentals Are a Different Beast
American renters who've rented back home—even in humid states like Florida or Louisiana—are often surprised by how aggressively the tropics age a property. In Phuket, you're dealing with year-round heat, intense monsoon seasons, salt air near the coast, and the kind of moisture that sneaks into wall cavities and closets without anyone noticing. That means:
- Mold and mildew appear faster than you'd expect, especially in bathrooms, behind furniture, and inside built-in wardrobes
- Metal fixtures rust, including hinges, shower heads, and window locks
- Tile grout discolors and cracks under heat expansion
- Paint peels on exterior-facing walls after wet season
- Wood swells, warps, and splits—doors, cabinet frames, even flooring
If you don't document these issues before you move in, your landlord may assume you caused them. And in a dispute, the burden of proof often falls on the renter.
The Golden Rule: Document Everything Before You Touch Anything
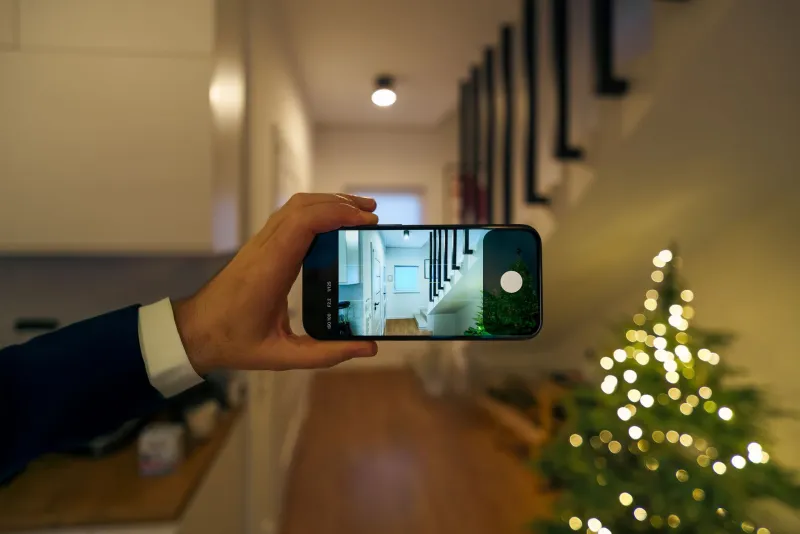
As soon as you get the keys—before you bring in luggage, before you open windows, before you adjust the thermostat—do a full walkthrough with your phone. Record a continuous video narrating what you see. Then go back and take still photos of anything that looks worn, damaged, or questionable. Date-stamp everything. Cloud-backup it immediately.
This isn't paranoia. This is just smart renting.
Once you've done the video sweep, send a written summary of all observed issues to your landlord via email or LINE (the messaging app most Thai landlords use). Keep that message thread. Even if your landlord responds with "no problem" or a thumbs-up emoji, you now have a timestamped paper trail.
Room-by-Room Inspection Checklist
Kitchen
- Check all appliances (fridge, stove, microwave, water filter) for function and visible damage
- Open every cabinet and drawer—look for water stains, rust, or warped wood
- Inspect under the sink for moisture, mold, or slow leaks
- Run the faucet and check water pressure
- Note any cracked tiles on countertops or backsplash
Bathrooms
- Look for mold or mildew along grout lines, in corners, and behind the toilet
- Test the shower pressure and hot water
- Check that drains flow freely
- Inspect the toilet for wobble, leaks, or running water
- Look for rust around fixtures and towel bars
- Note any cracks in tile or missing caulk around the tub or shower pan
Bedrooms
- Open every wardrobe and closet—smell for mildew, check for moisture or staining inside
- Test all ceiling fans and lights
- Check window screens for holes or missing sections (dengue is real; screens matter)
- Look under the bed and behind furniture for mold on walls
- Test AC units—do they cool? Do they drip inside?
Living and Dining Areas
- Test every light switch and outlet
- Check for water stains on ceilings (a classic sign of a leaky roof or upstairs plumbing)
- Inspect sliding doors and balcony doors for rust on tracks or broken locks
- Look at the condition of furniture if the unit is furnished—note any tears, stains, or broken legs
Exterior and Common Areas
- Photograph the condition of the pool if included
- Check garden or outdoor furniture
- Note cracks in exterior walls or paint peeling on balconies
- Test the gate remote and any security keypads
- Look at the condition of any parking area
Common Damage Traps Americans Miss
The AC drain pan. In Phuket's humidity, air conditioning units work overtime. If the drain pan is already cracked or improperly sloped, it will overflow and cause water damage to walls and flooring. If you don't document the existing condition, you could get blamed for that damage later.
Mold inside closets. Built-in wardrobes in tropical homes often have poor ventilation. Open every door, push clothes hangers aside if any were left behind, and photograph the interior walls. Mold here is extremely common and almost always pre-existing.
Window screen condition. Landlords rarely replace screens between tenants, and they degrade quickly. Document every hole or missing screen on day one, or you may be charged to replace them at move-out.
Tile lippage and cracked grout. Floor tiles in older Phuket rentals shift and crack due to heat expansion. What looks like a small crack can be blamed on a dropped item or heavy furniture if you don't photograph it first.
Stained or yellowed walls. Sun exposure and humidity discolor paint fast. If a wall looks yellow or water-stained on move-in, document it. Otherwise, it's easy for a landlord to claim you caused it.
Wear-and-Tear vs. Negligence: Know the Difference
In Thailand, as in the US, normal wear-and-tear is generally not the renter's financial responsibility. Small scuffs on walls, minor fading of fabrics, and general aging of fixtures fall into this category. What landlords can reasonably charge for: broken items, excessive staining, mold caused by leaving AC off in an unventilated space, or damage from unauthorized modifications.
The gray area is where disputes happen. A landlord might claim a rust-stained bathtub was your doing. A cracked tile might be blamed on something you dropped. If you have photos from move-in day showing those conditions already existed, you win that argument. If you don't, you're relying on goodwill—and that's a gamble.
The Move-In Report: Make It Official
Most rental agreements in Phuket don't include a formal move-in inspection form the way US leases sometimes do. That doesn't mean you can't create one. After your walkthrough, type up a simple list of observed issues, attach your photos, and email it to your landlord with a request for written acknowledgment. Most landlords will respond reasonably—they're not looking for a fight either. This simple step protects both parties.
If your landlord refuses to acknowledge any pre-existing issues in writing, that's a red flag worth noting. It doesn't necessarily mean they're bad actors, but it does mean you should store your documentation somewhere very safe.
The Bottom Line
Your move-in inspection is the single most important thing you can do to protect your deposit. It takes maybe 45 minutes. It costs you nothing but a little jet-lagged effort. And it could save you hundreds—or thousands—of dollars when it's time to move out.
In a place as beautiful as Phuket, you want to spend your energy exploring the beaches, the night markets, and the hidden coves—not fighting over a security deposit. Do the work on day one, and you won't have to worry about it on day 365.